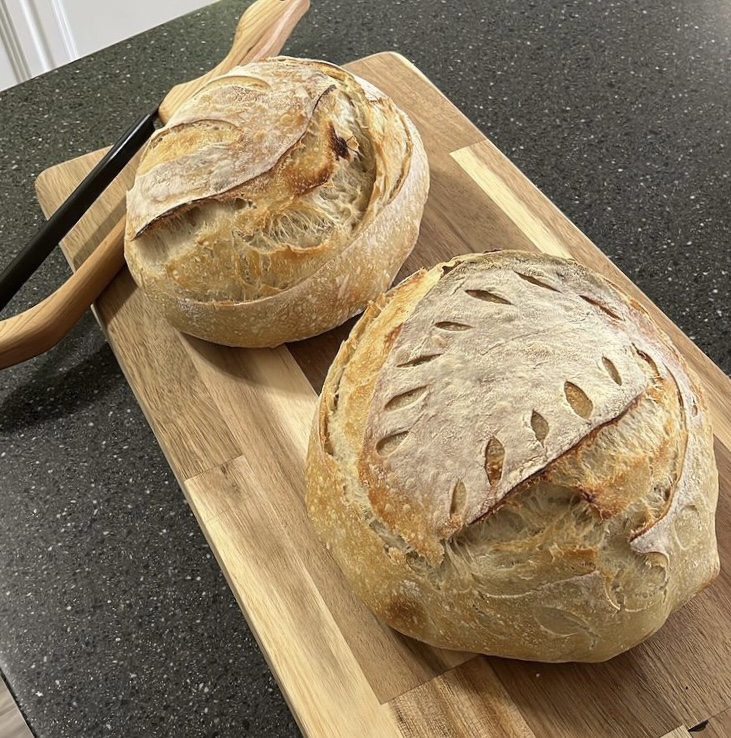
Artisan sourdough bread loaves were one of my homemaking goals for this year. It took me four attempts before I got bread dough that was acceptable baking, but I’ve figured out my method now and can whip up two fresh loaves without thinking about it!
A note to start: I live at an elevation of ~5,000 feet above sea level. This means that my baking recipes typically require more flour and they bake fast, compared to the baking conditions I would use at sea level. If you’re trying this recipe for the first time and you live at a different elevation than I do, I recommend watching my sourdough how-to highlight over on Instagram for a visual of what the dough and bake should look like as you go along.
INGREDIENTS
- 250 gram of active, bubbly sourdough starter (typically 6-12 hours after feeding)
- 735 grams of filtered/distilled water (make sure it is not fluoridated)
- 1000 grams unbleached all purpose flour
- 24 grams sea salt
- Optional: 50 grams additional filtered/distilled water (depending on elevation & dough consistency)
PREPARATION
- Using a food scale, combine 250 grams active sourdough starter with 735 grams filtered water. Mix with a dough whisk until “milky”.
- Add 1000 grams unbleached all purpose flour and mix with dough whisk until well combined.
- Cover loosely and let rest at room temperature for 60 to 90 minutes.
- After rest, sprinkle 24 grams of sea salt over dough and pinch it in to incorporate. If needed, add up to 50 grams additional water until correct consistency is reached.
- Knead dough by hand until water and salt are fully incorporated.
- Loosely cover dough and let rest at room temperature for 15-30 minutes
- Over the next 1.5-2 hours, perform 3-4 sets of “stretch and folds”. One set of stretch and folds consists of taking each of the four sides of the dough, stretching it up and folding it over. Watch my highlight on Instagram for a visual demonstration.
- At the end of your final set of stretch and folds, loosely cover the dough. Let sit for 1-2 hours at room temperature or 8-10 hours in the refrigerator to allow the dough to ferment. You can also allow your dough to ferment longer if you’d like.
- After your fermentation period, gently dump your dough onto a clean countertop. Using a bench scraper, divide the dough in half so you can form two loaves.
- Take your section of bread dough and stretch it out into a rectangle roughly 12”x12”
- Fold the dough into thirds and then roll up into a loaf. Push the dough away from you and then pull it back to build tension in the loaf
- Repeat with the second half of the dough
- Allow the loaves to rest uncovered on the counter for about 20 minutes
- Repeat steps 10 through 12. Use gentler movements as the dough with have a memory of the shape you are trying to create.
- Once you have completed your second loaf shaping, use your bench scraper to flip the loaves into lightly floured proofing baskets, top side down. Pinch the dough at the bottom of the loaf together to create a seam
- Lightly cover the proofing basket with plastic (I use cheap shower caps) and place into the fridge to proof for 1-2 hours
- While your dough is proofing, place an enameled Dutch oven (with a lid) into the oven and turn in on to preheat to 450°F
- After proofing, remove one loaf from the fridge.
- Flip the dough onto a piece of parchment paper
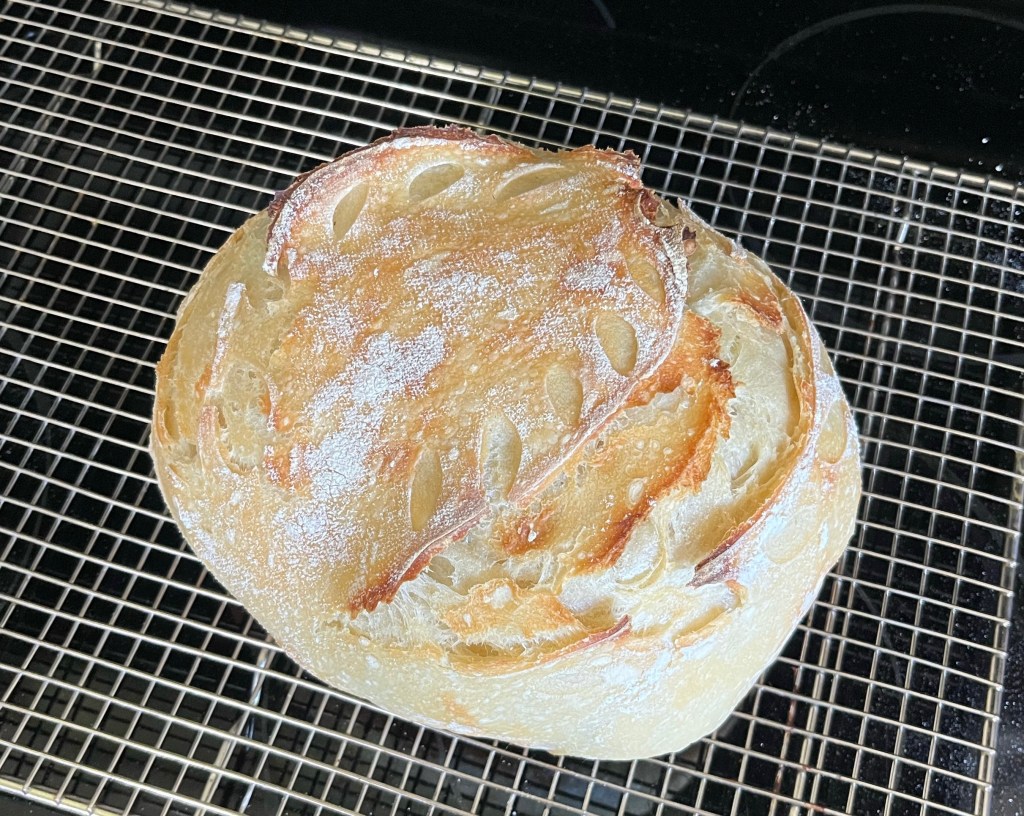
- Using a razor blade or very sharp knife, score the dough. Make a design if you’d like, but make sure you have at least one long deep cut to allow for expansion in the bread during baking
- Once scored, transfer the dough on the parchment paper into the preheated Dutch oven. Replace the lid and return immediately to the oven.
- Bake at 450°F for 25 minutes (longer at lower elevations)
- Remove the lid from the Dutch oven and bake uncovered for an additional 10 minutes or until golden brown
- During this second bake, get your second loaf ready by placing on parchment paper and scoring
- Once your first loaf is nicely browned, remove it from the Dutch oven by lifting it on the parchment paper and placing it on a cooling rack. Place second loaf in Dutch oven cover with lid, and bake the same way you did the first.
- Enjoy your sourdough bread within the first 24 hours after baking for best flavor.
I hope this recipe was helpful. If you are a visual learner, I really recommend watching the highlight on my Instagram page. If you’re still having issues, feel free to take pictures of your hang up and message me! I can’t guarantee I’ll know how to help, but I’ll certainly do my best.


Thank you for the simple, easy to follow instructions! I just made my first 2 loaves 🙂
LikeLike